Baking has been my go-to comfort zone—a haven Growing up in a household with varying dietary needs, I frequently found myself working around food limitations through the eyes of an artist. When my Brother was diagnosed with gluten sensitivity and I opted for an egg-free life myself, sweets became a challenge.
One of the recipes that always fascinated me was ladyfingers—those light, sponge-like cookies that give the heart of a decadent tiramisu. But recipes are egg- and wheat flour-dependent. I recall blogs, attempting store-bought substitutes, and being disappointed each time. The texture was off, the taste was lacking, and they would either become soggy or refuse to soften at all.
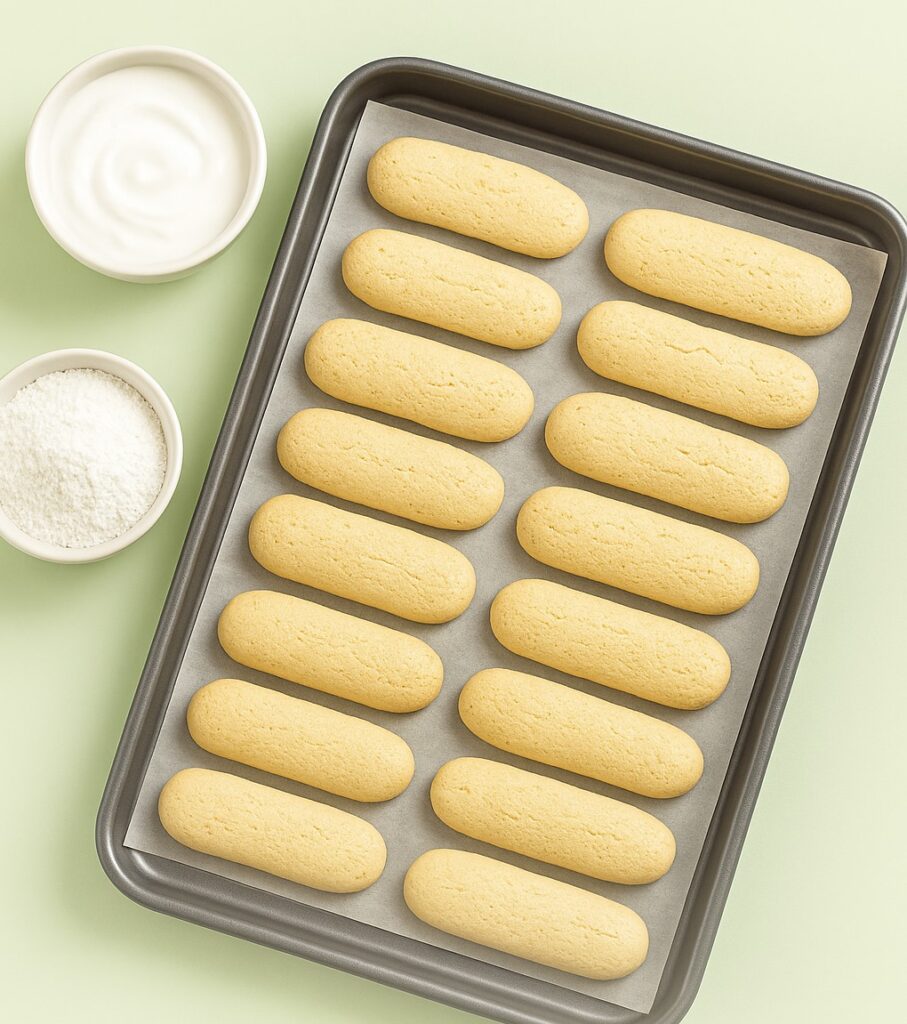
So I did what any dessert-obsessed home baker would do—I started testing. Batch after batch, adjusting ratios, flours on and off, experimenting with plant-based ingredients. And I finally arrived at a combination that succeeded: Gluten-free Eggless Sponge Fingers that taste just like the real thing. Crispy on the outside, airy in the middle, with just the right texture to absorb espresso for that creamy tiramisu.
Whether vegan, gluten-sensitive, or simply an alternative lover who loves to bake—this recipe is a keeper.
How to Use These Cookies
These ladyfingers are perfect for:
Classic eggless tiramisu
Trifles or layered desserts
Enjoying with a cup of chai or coffee ☕️
Ending Paragraph :
Making eggless and gluten-free ladyfingers made for priceless baking fun. They’re easy, scrumptious, and a wonderful base for countless classic desserts.
So, whether you are avoiding eggs, gluten, or both—these sponge fingers have you covered!

Gluten-Free Eggless Sponge Fingers Cookies (Ladyfingers)
Gluten-Free Eggless Sponge Fingers Cookies
Instructions
-
Step 1: Prep Your Oven
Preheat the oven to 180°C (350°F). Line a baking sheet with parchment paper.
-
Step 2: Make the Batter
In a Bowl Mix yogurt, sugar, oil, and vanilla extract it becomes smooth and light but not airy.
Be sure to let the batter rest for 5 minutes; this will activate the baking powder later.
-
Step 3: Combine Dry Ingredients
Sift the rice flour, cornstarch, baking powder, and salt into another bowl. Gradually fold the dry mix into the wet ingredients. Mix gently until it is smooth and pipeable (slightly thick but not stiff).
-
Step 4: Pipe the Fingers
Add the batter into a piping bag fitted with a round or small star nozzle. Pipe lines of 2 to 3 inches on the tray, leaving spaces.
Tip: Draw guide lines on the parchment paper for even sizes.
-
Step 5: Bake
Bake for about 12-15 minutes until the fingers are slightly golden in color. Allow to cool completely for crispness.
